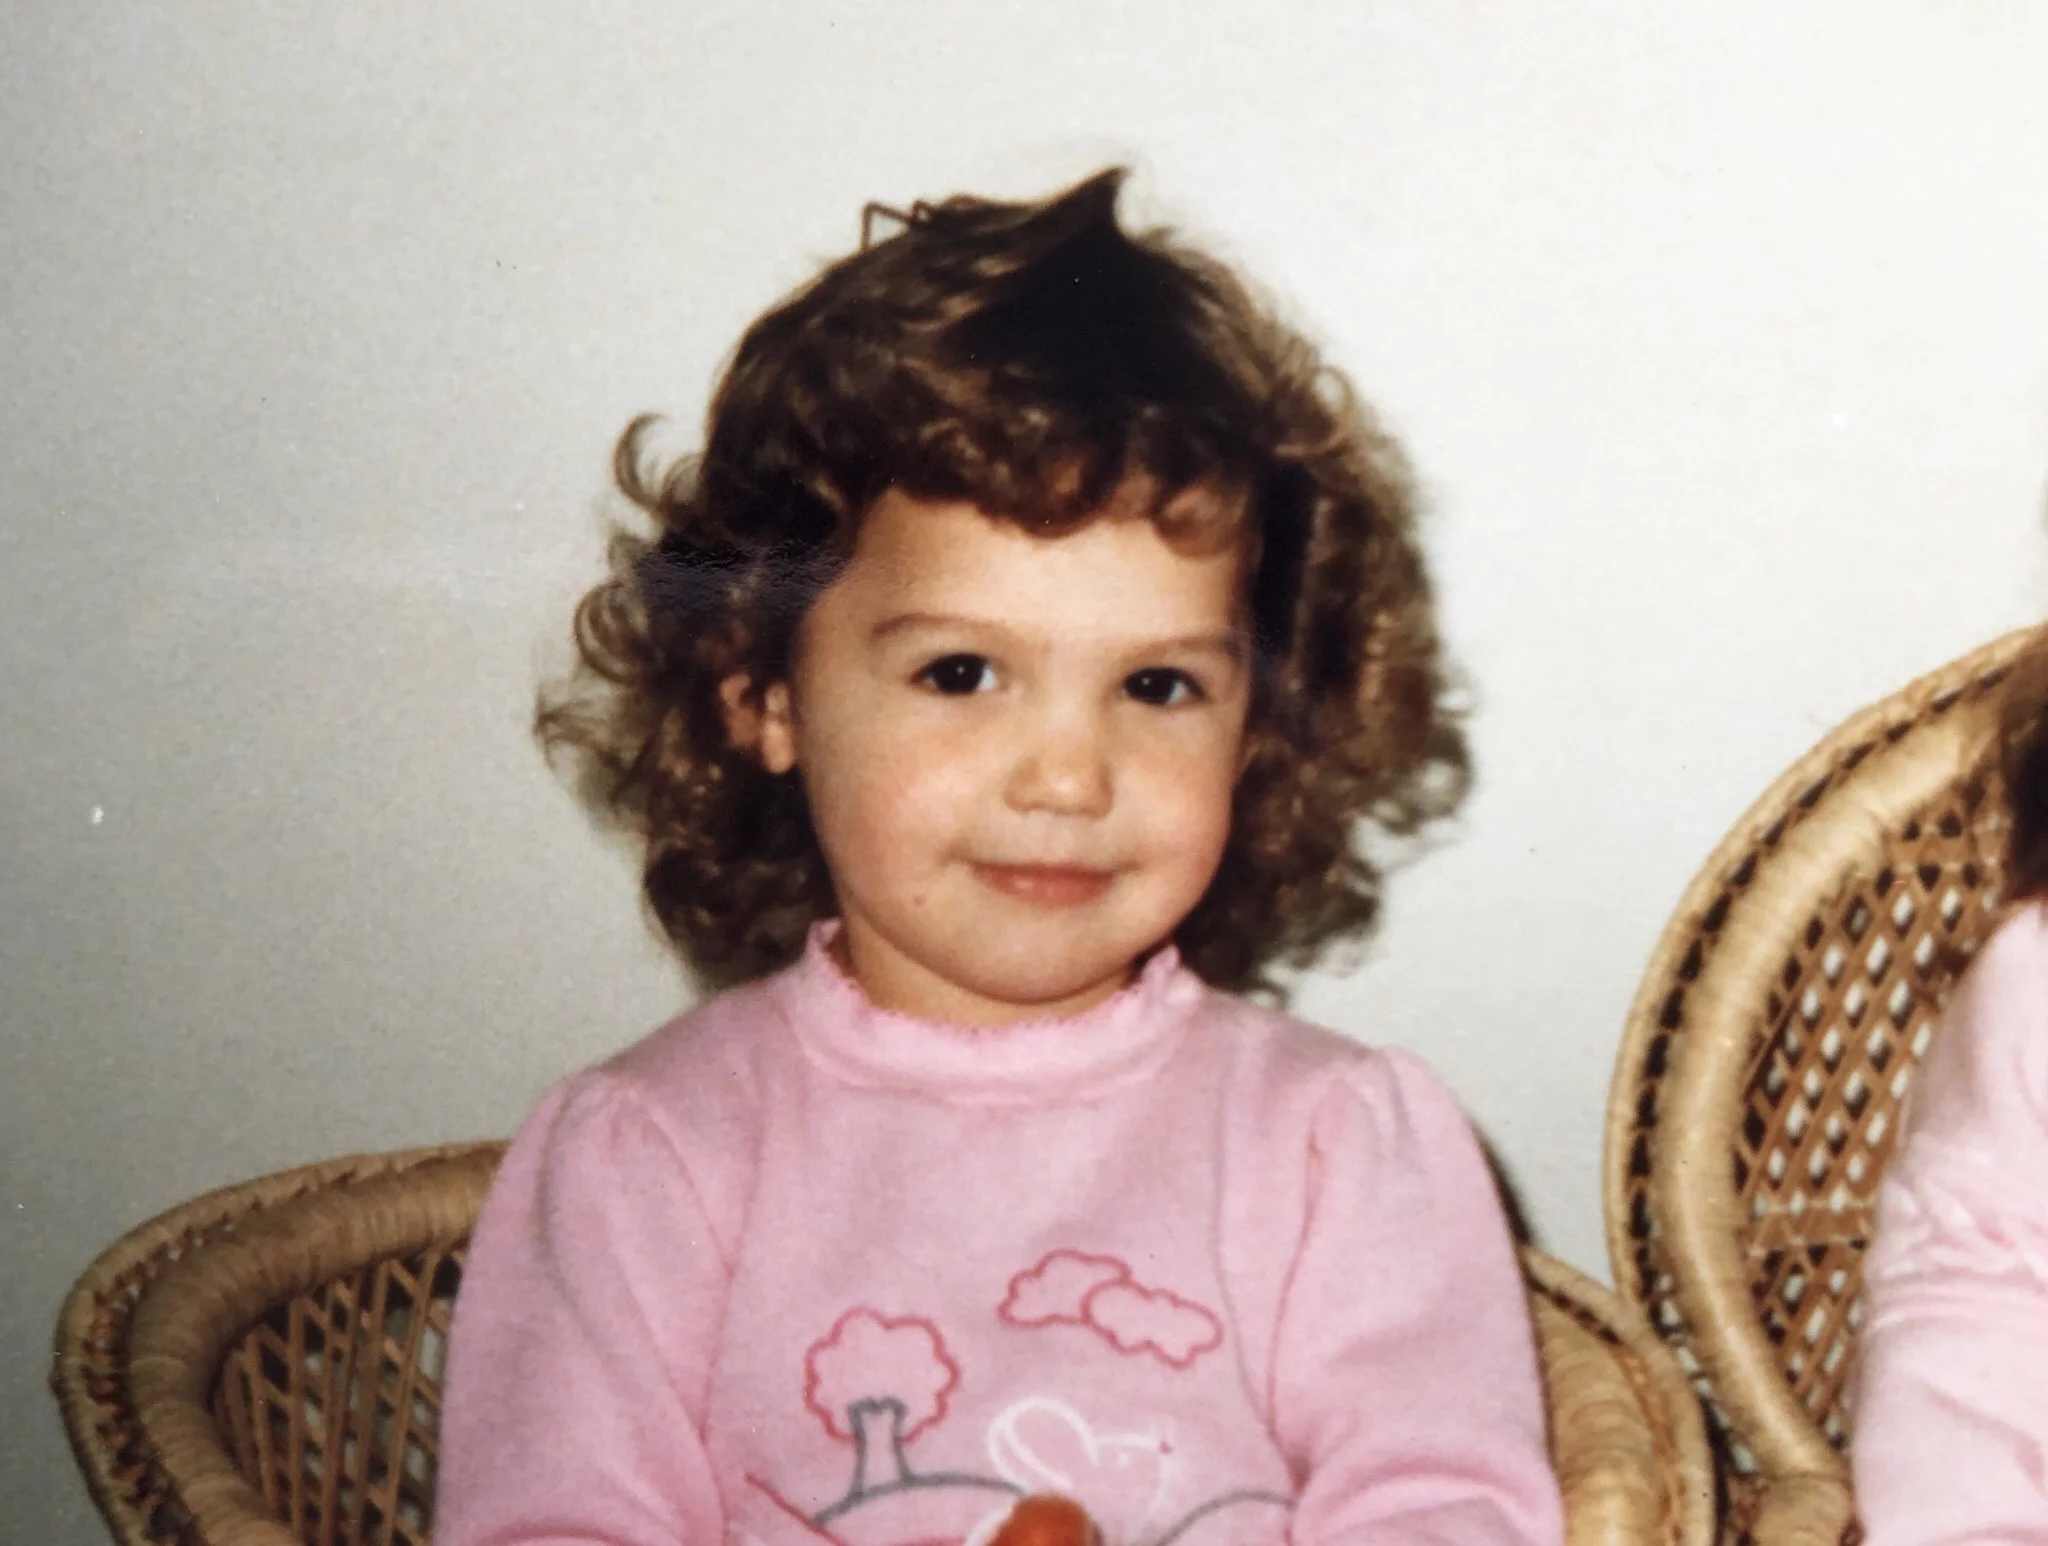
three years of the curly girl method
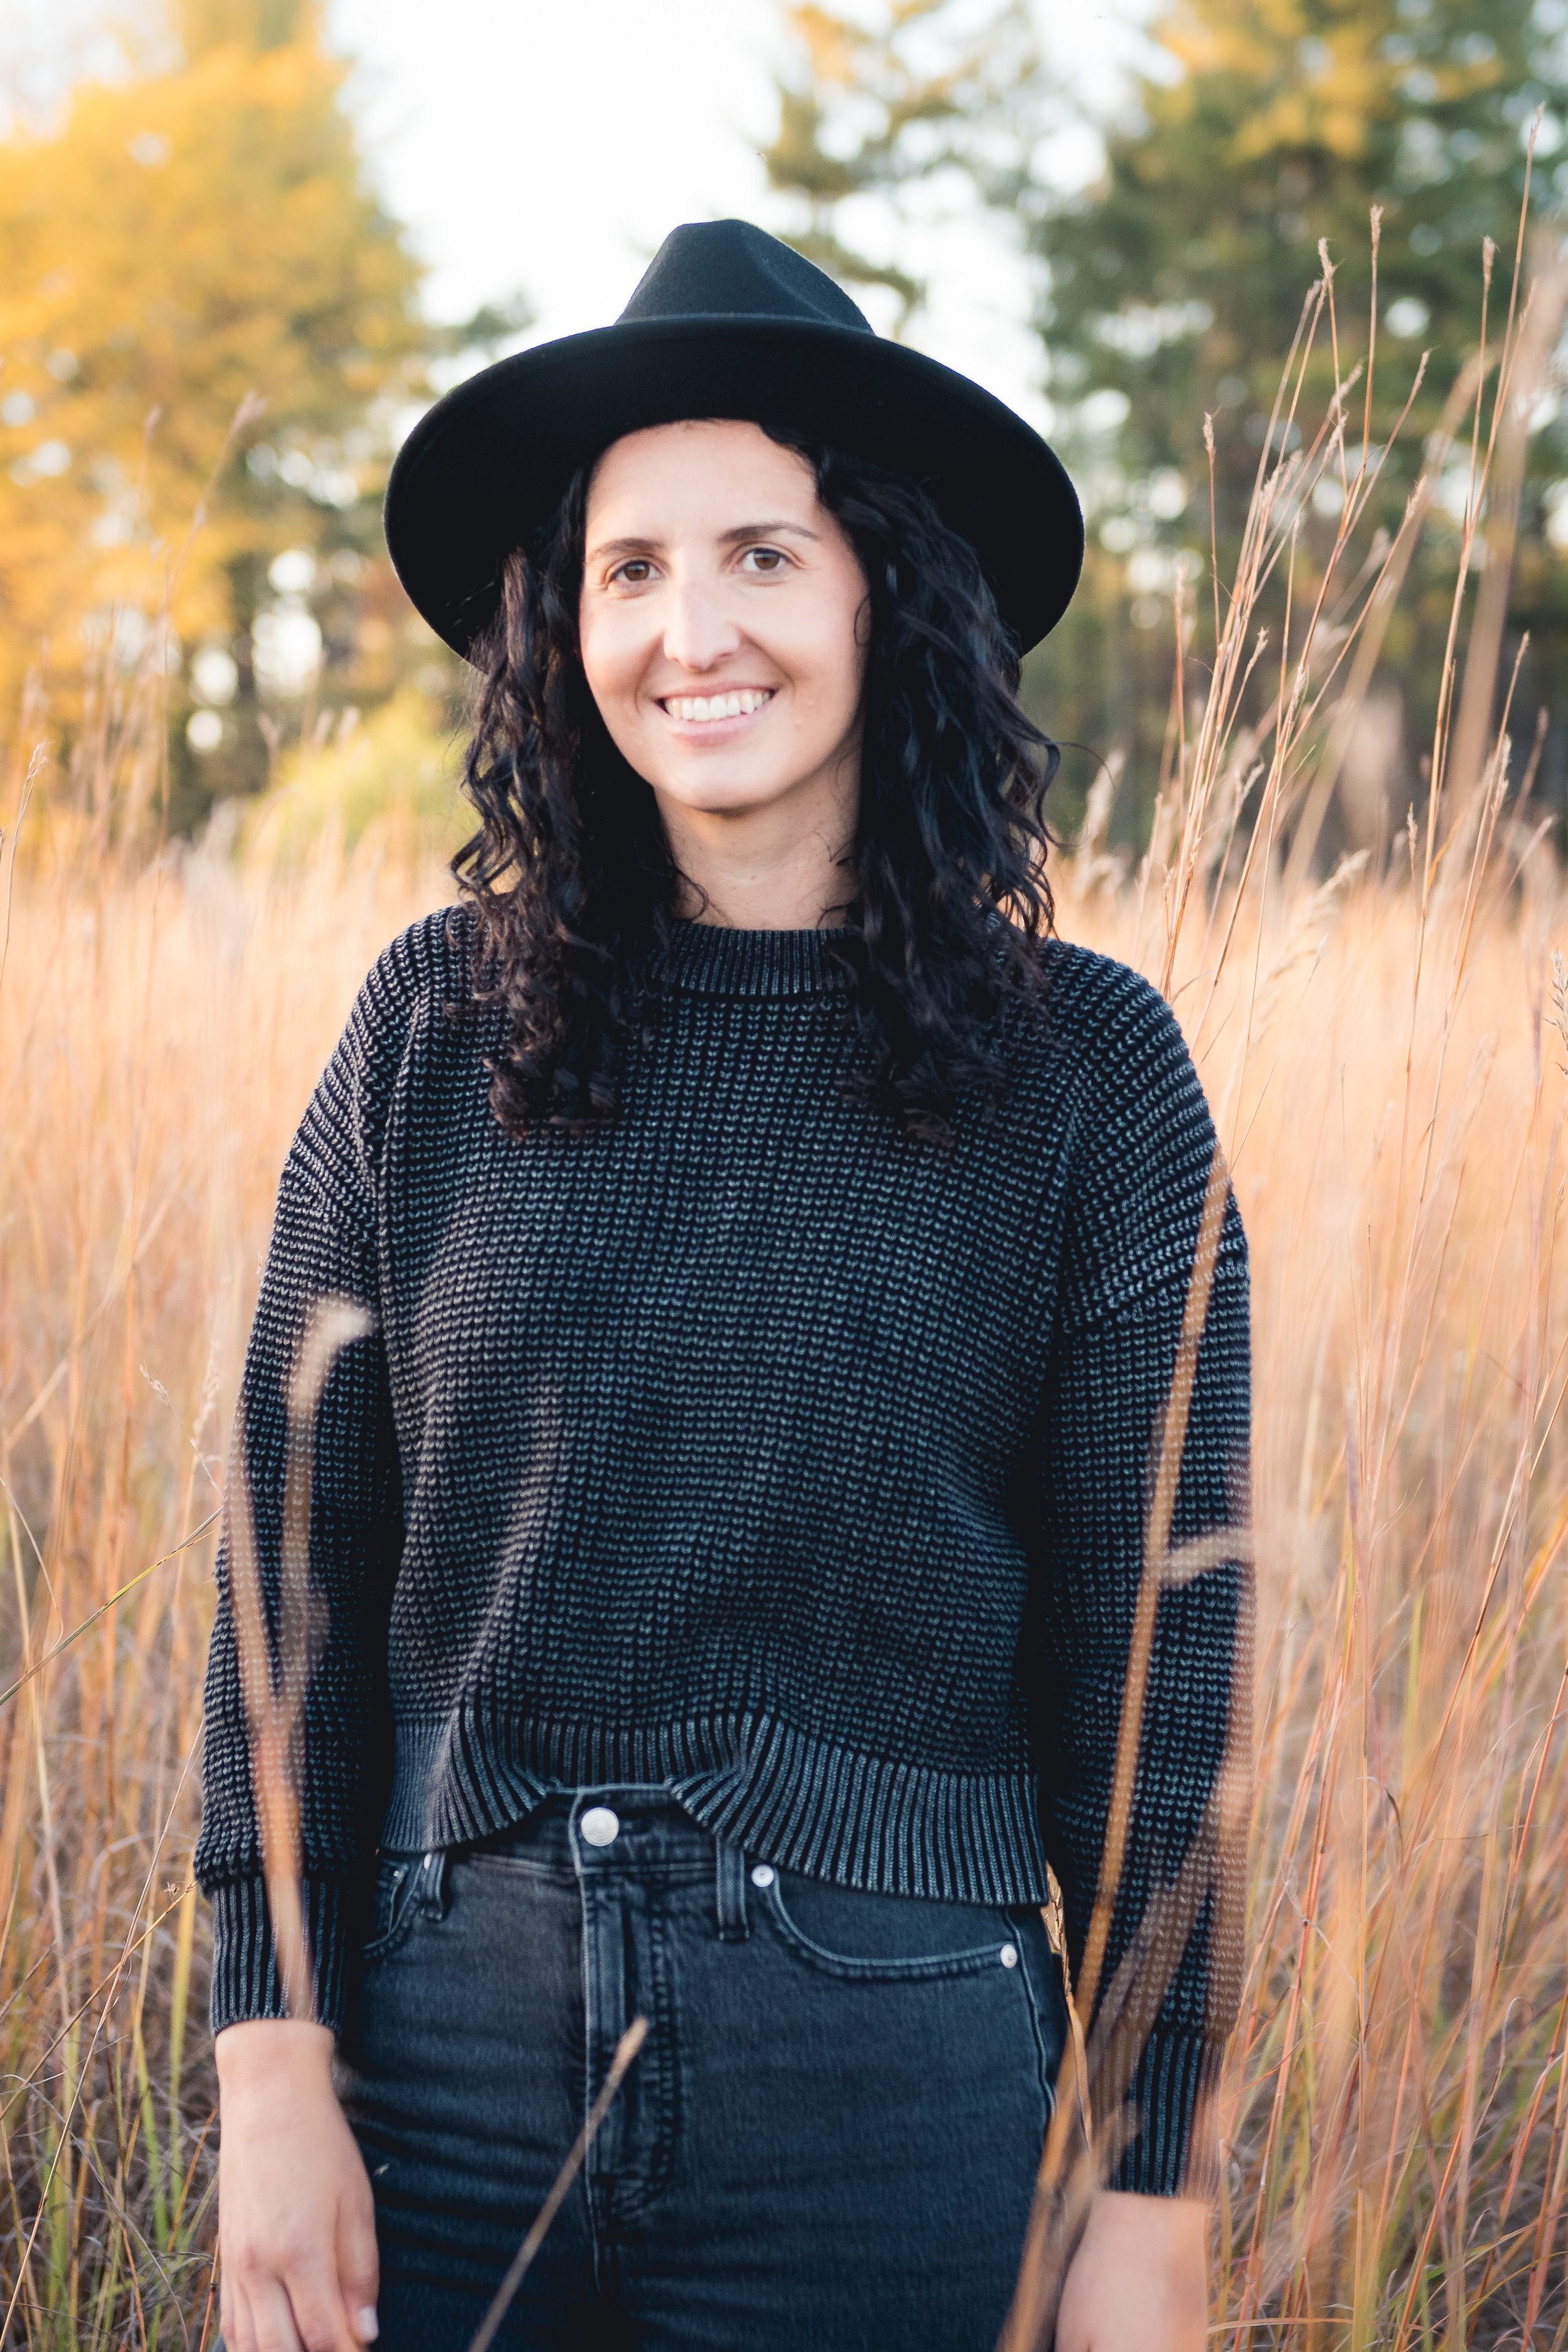
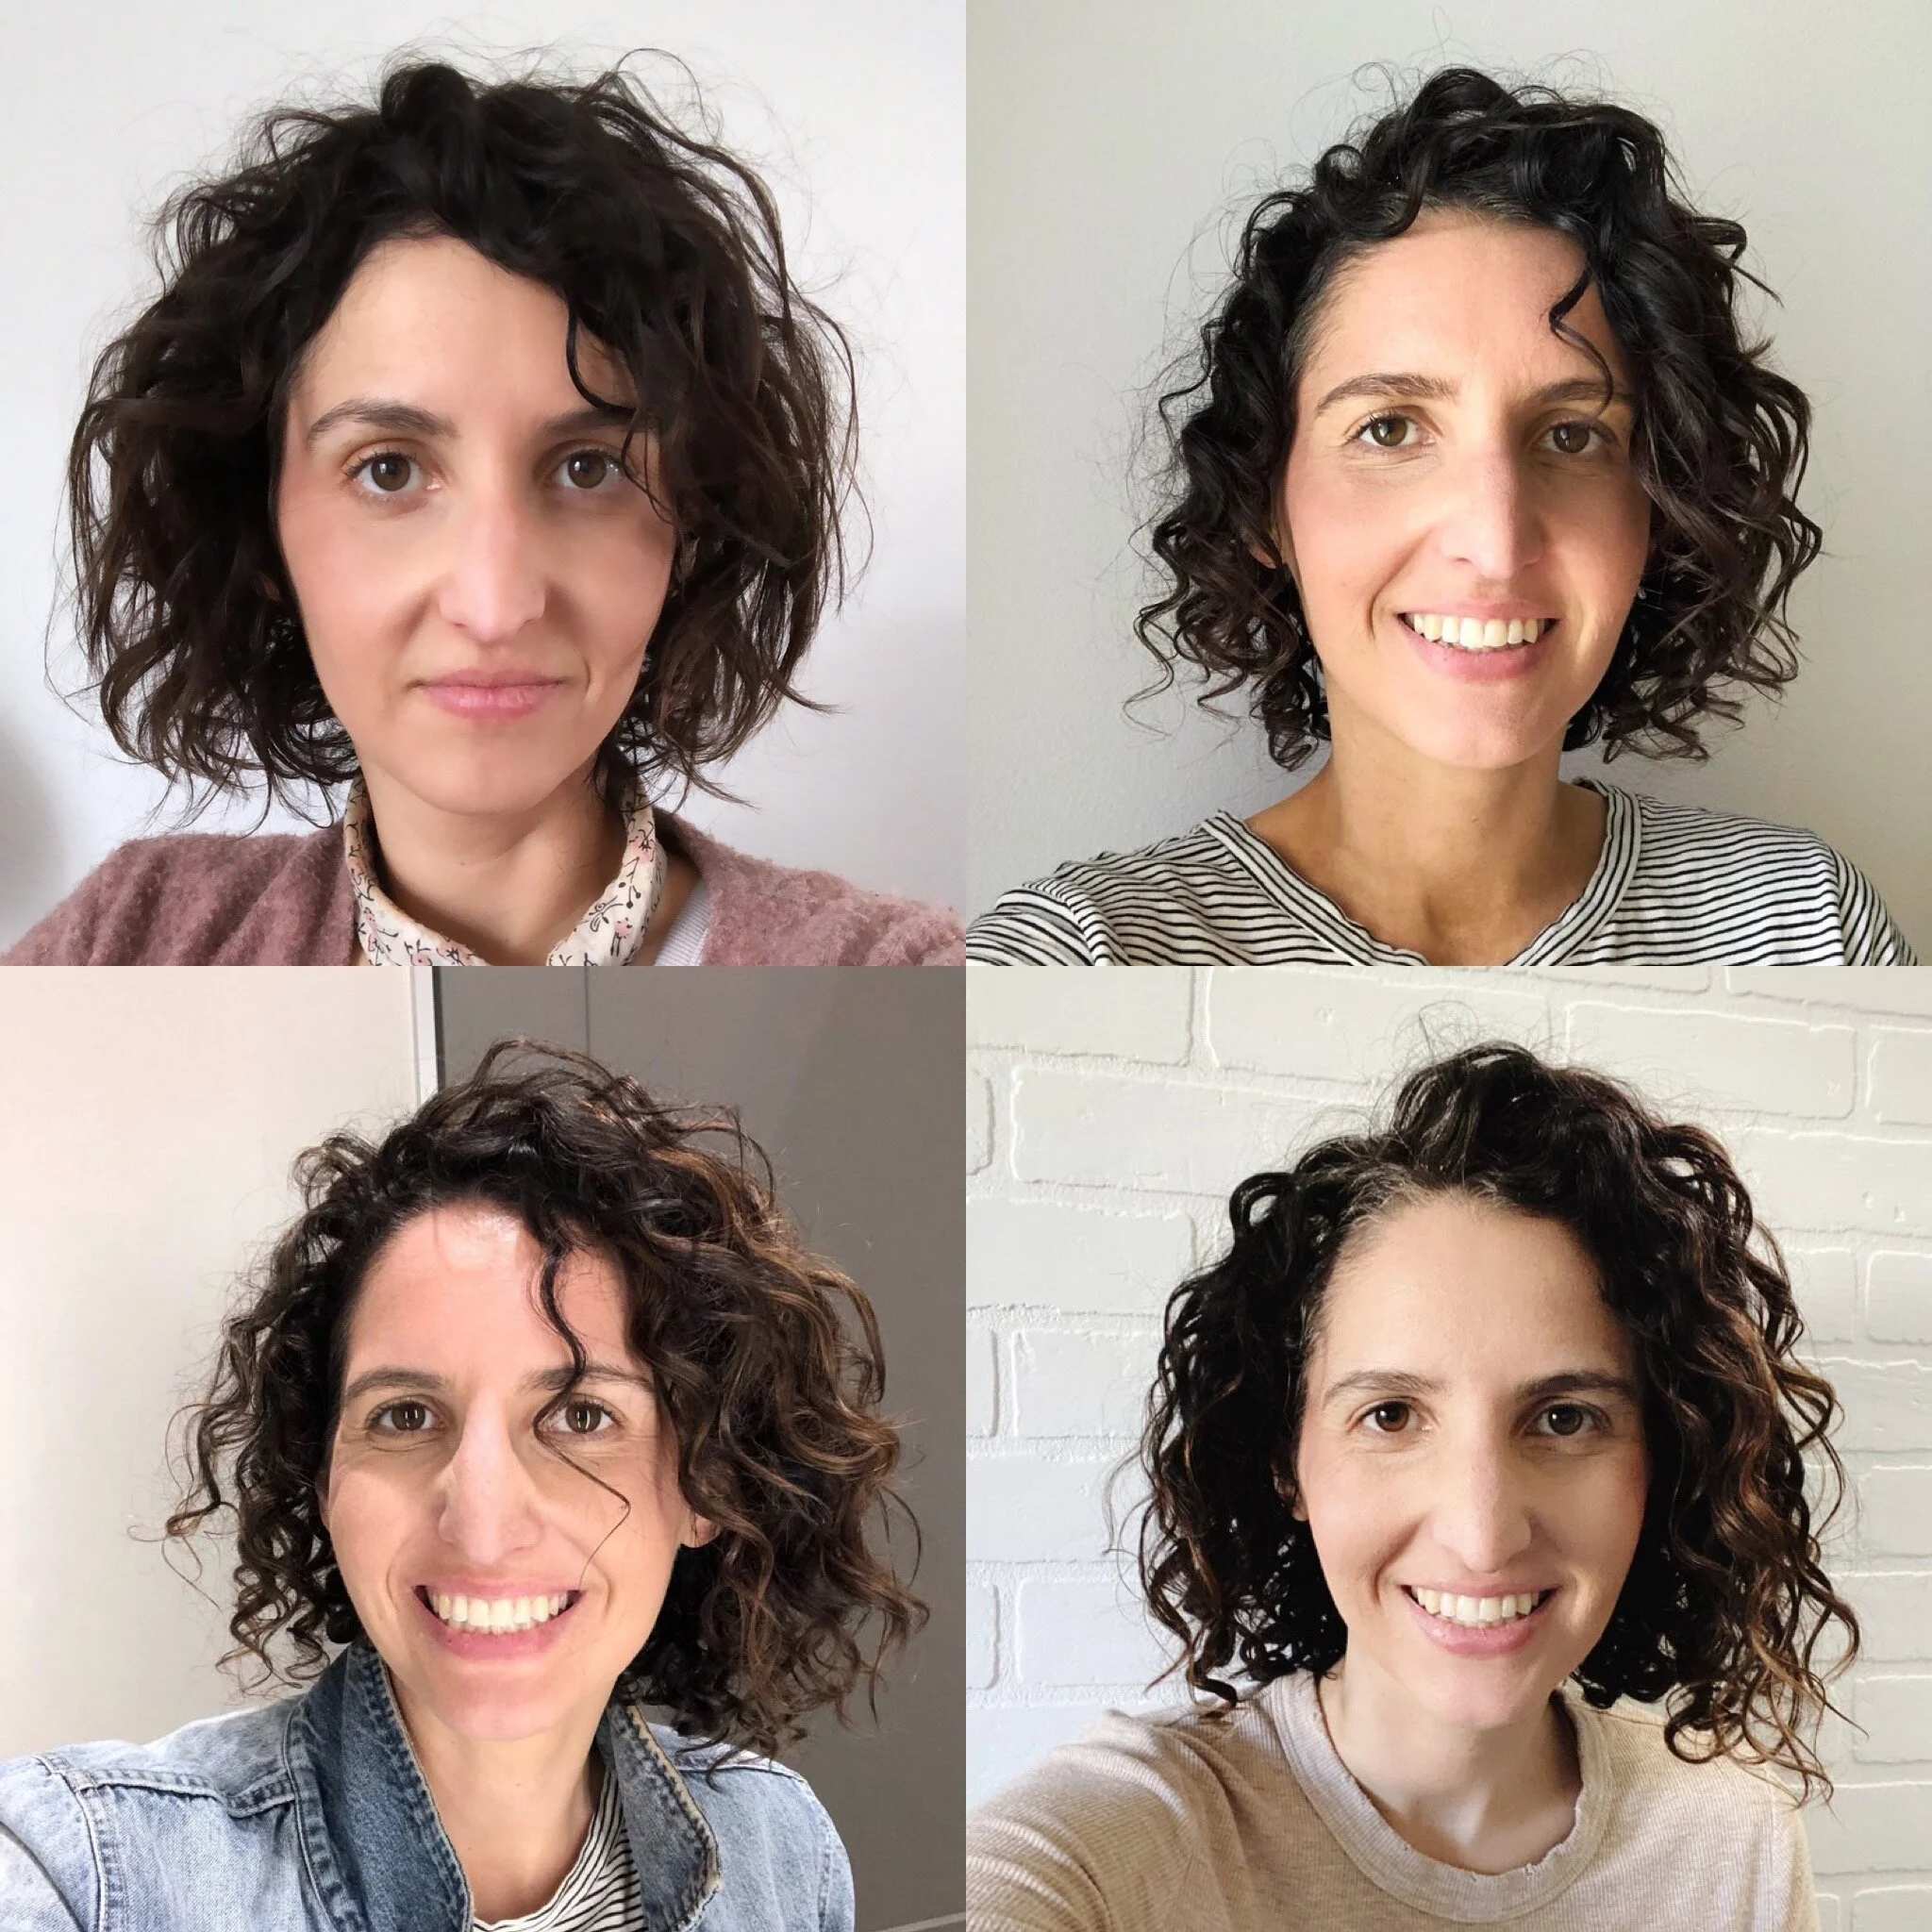
Fall 2021
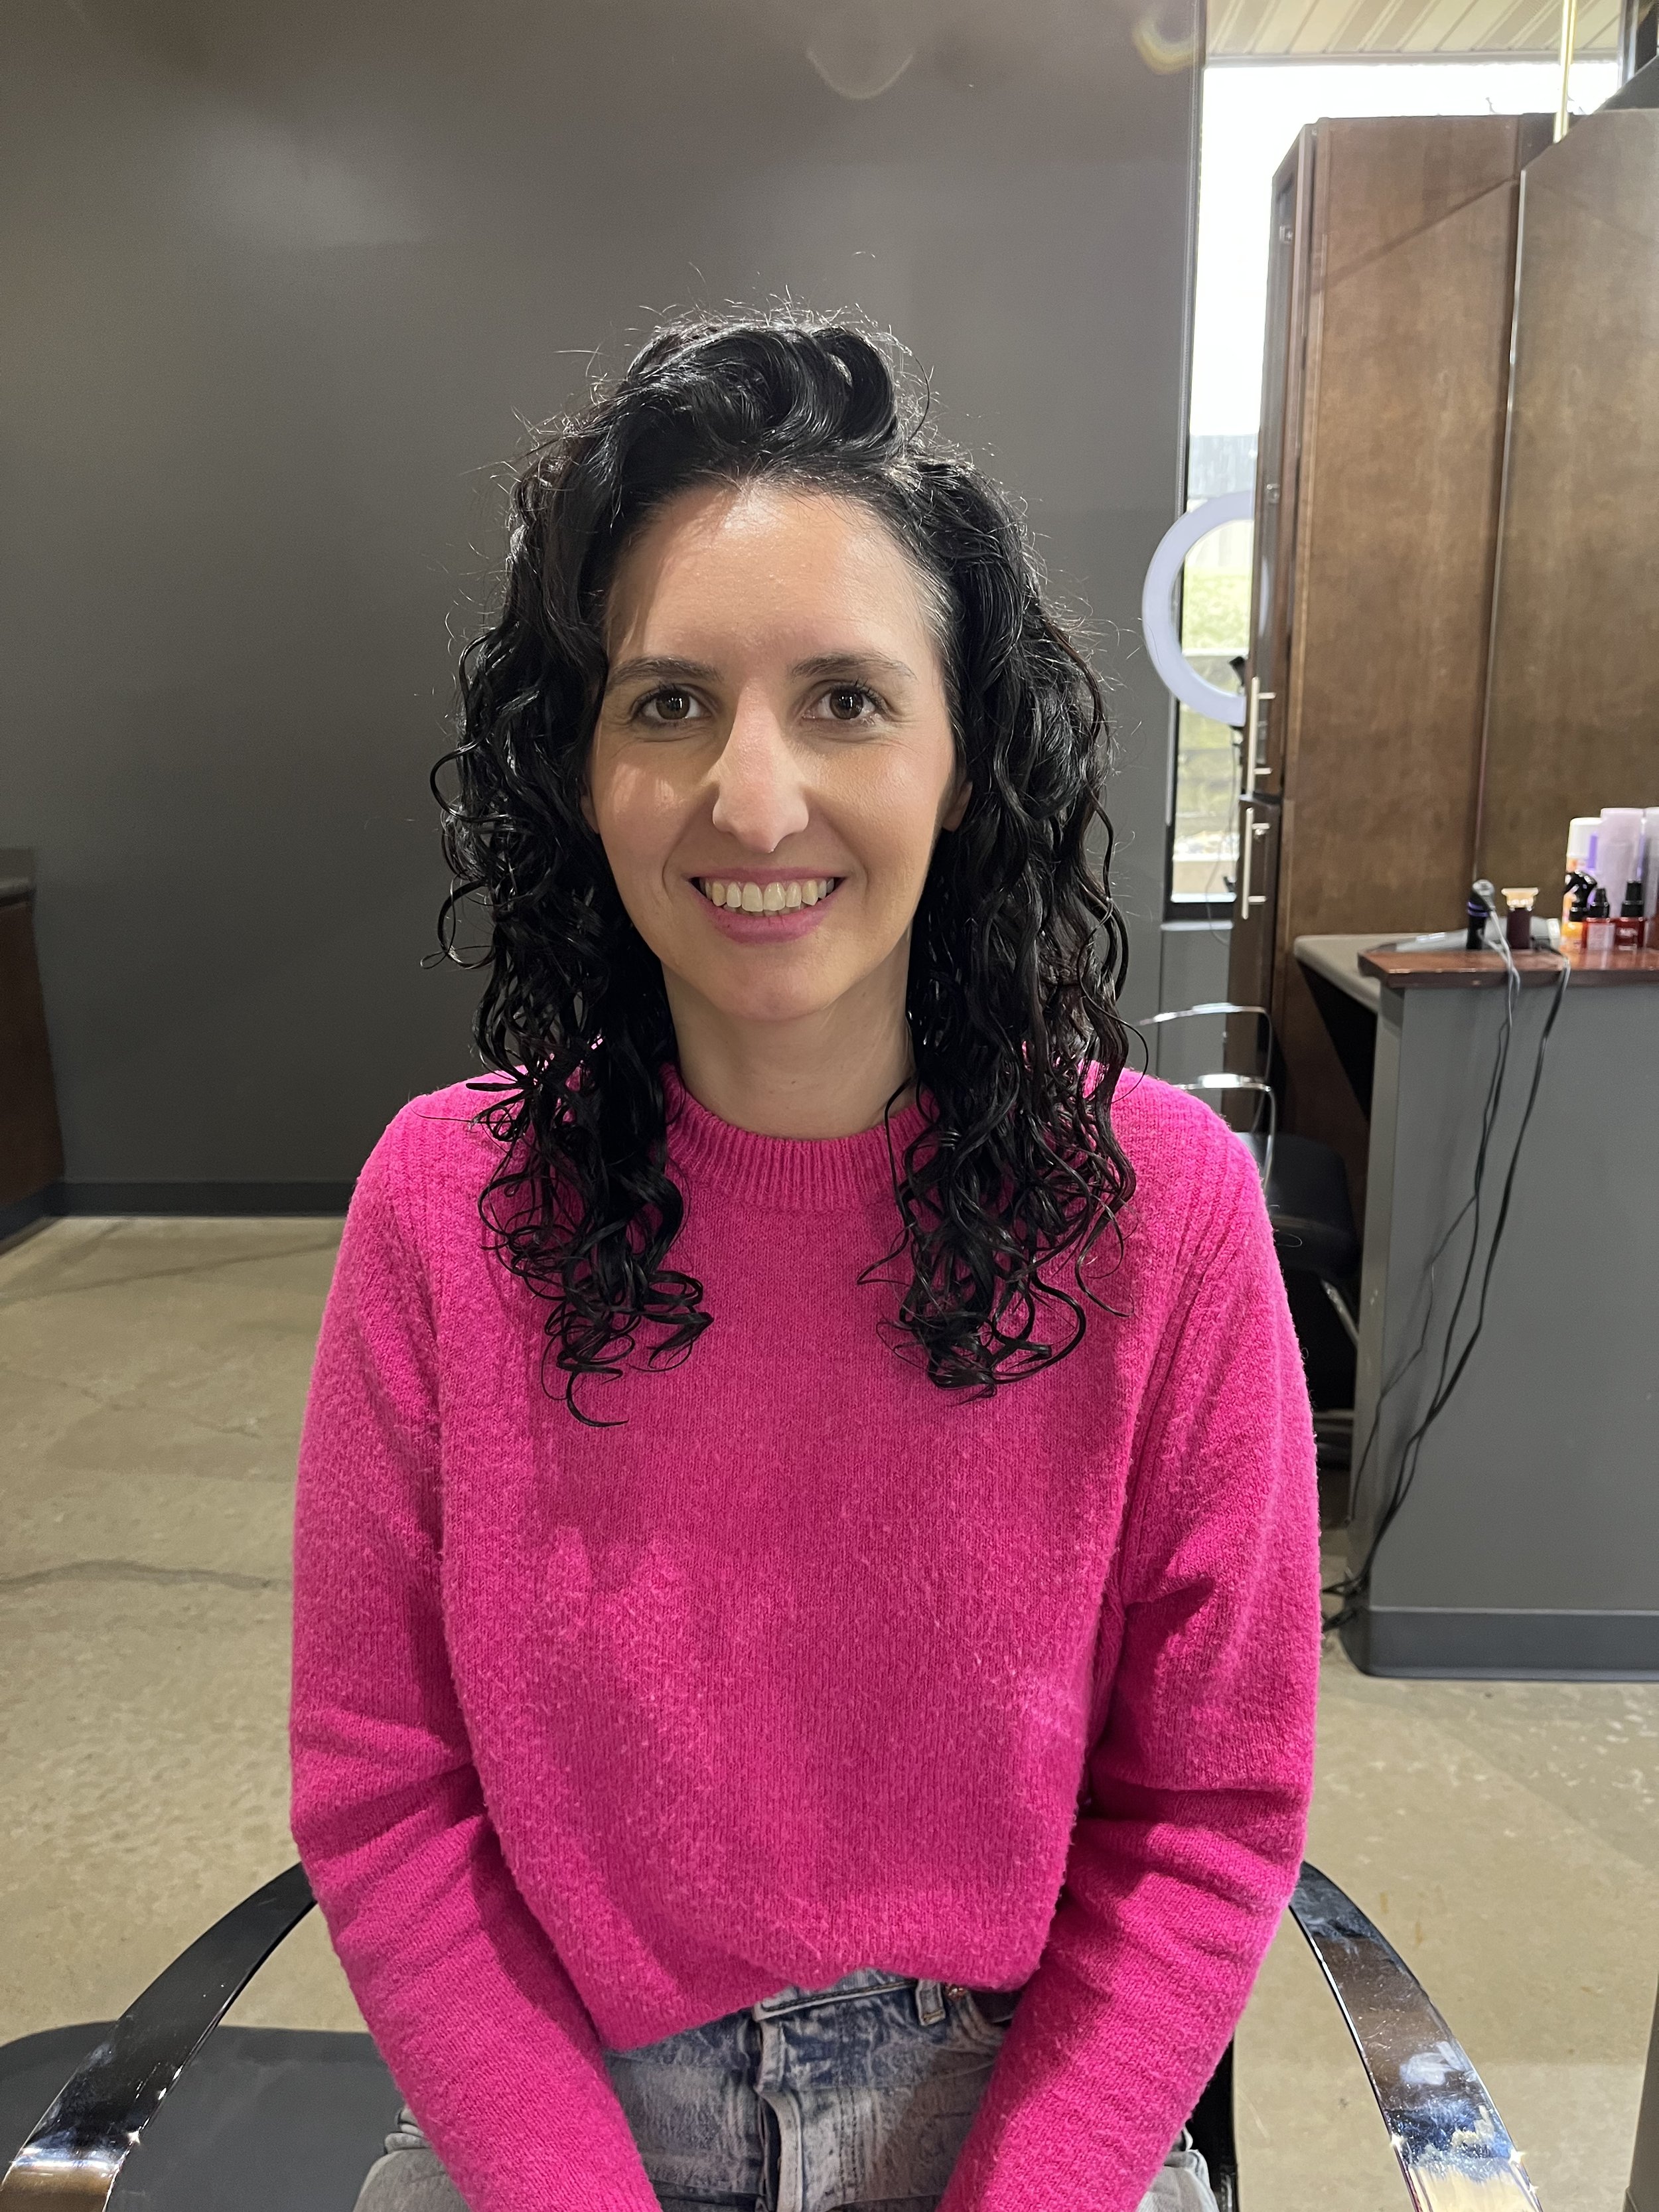
Spring 2022
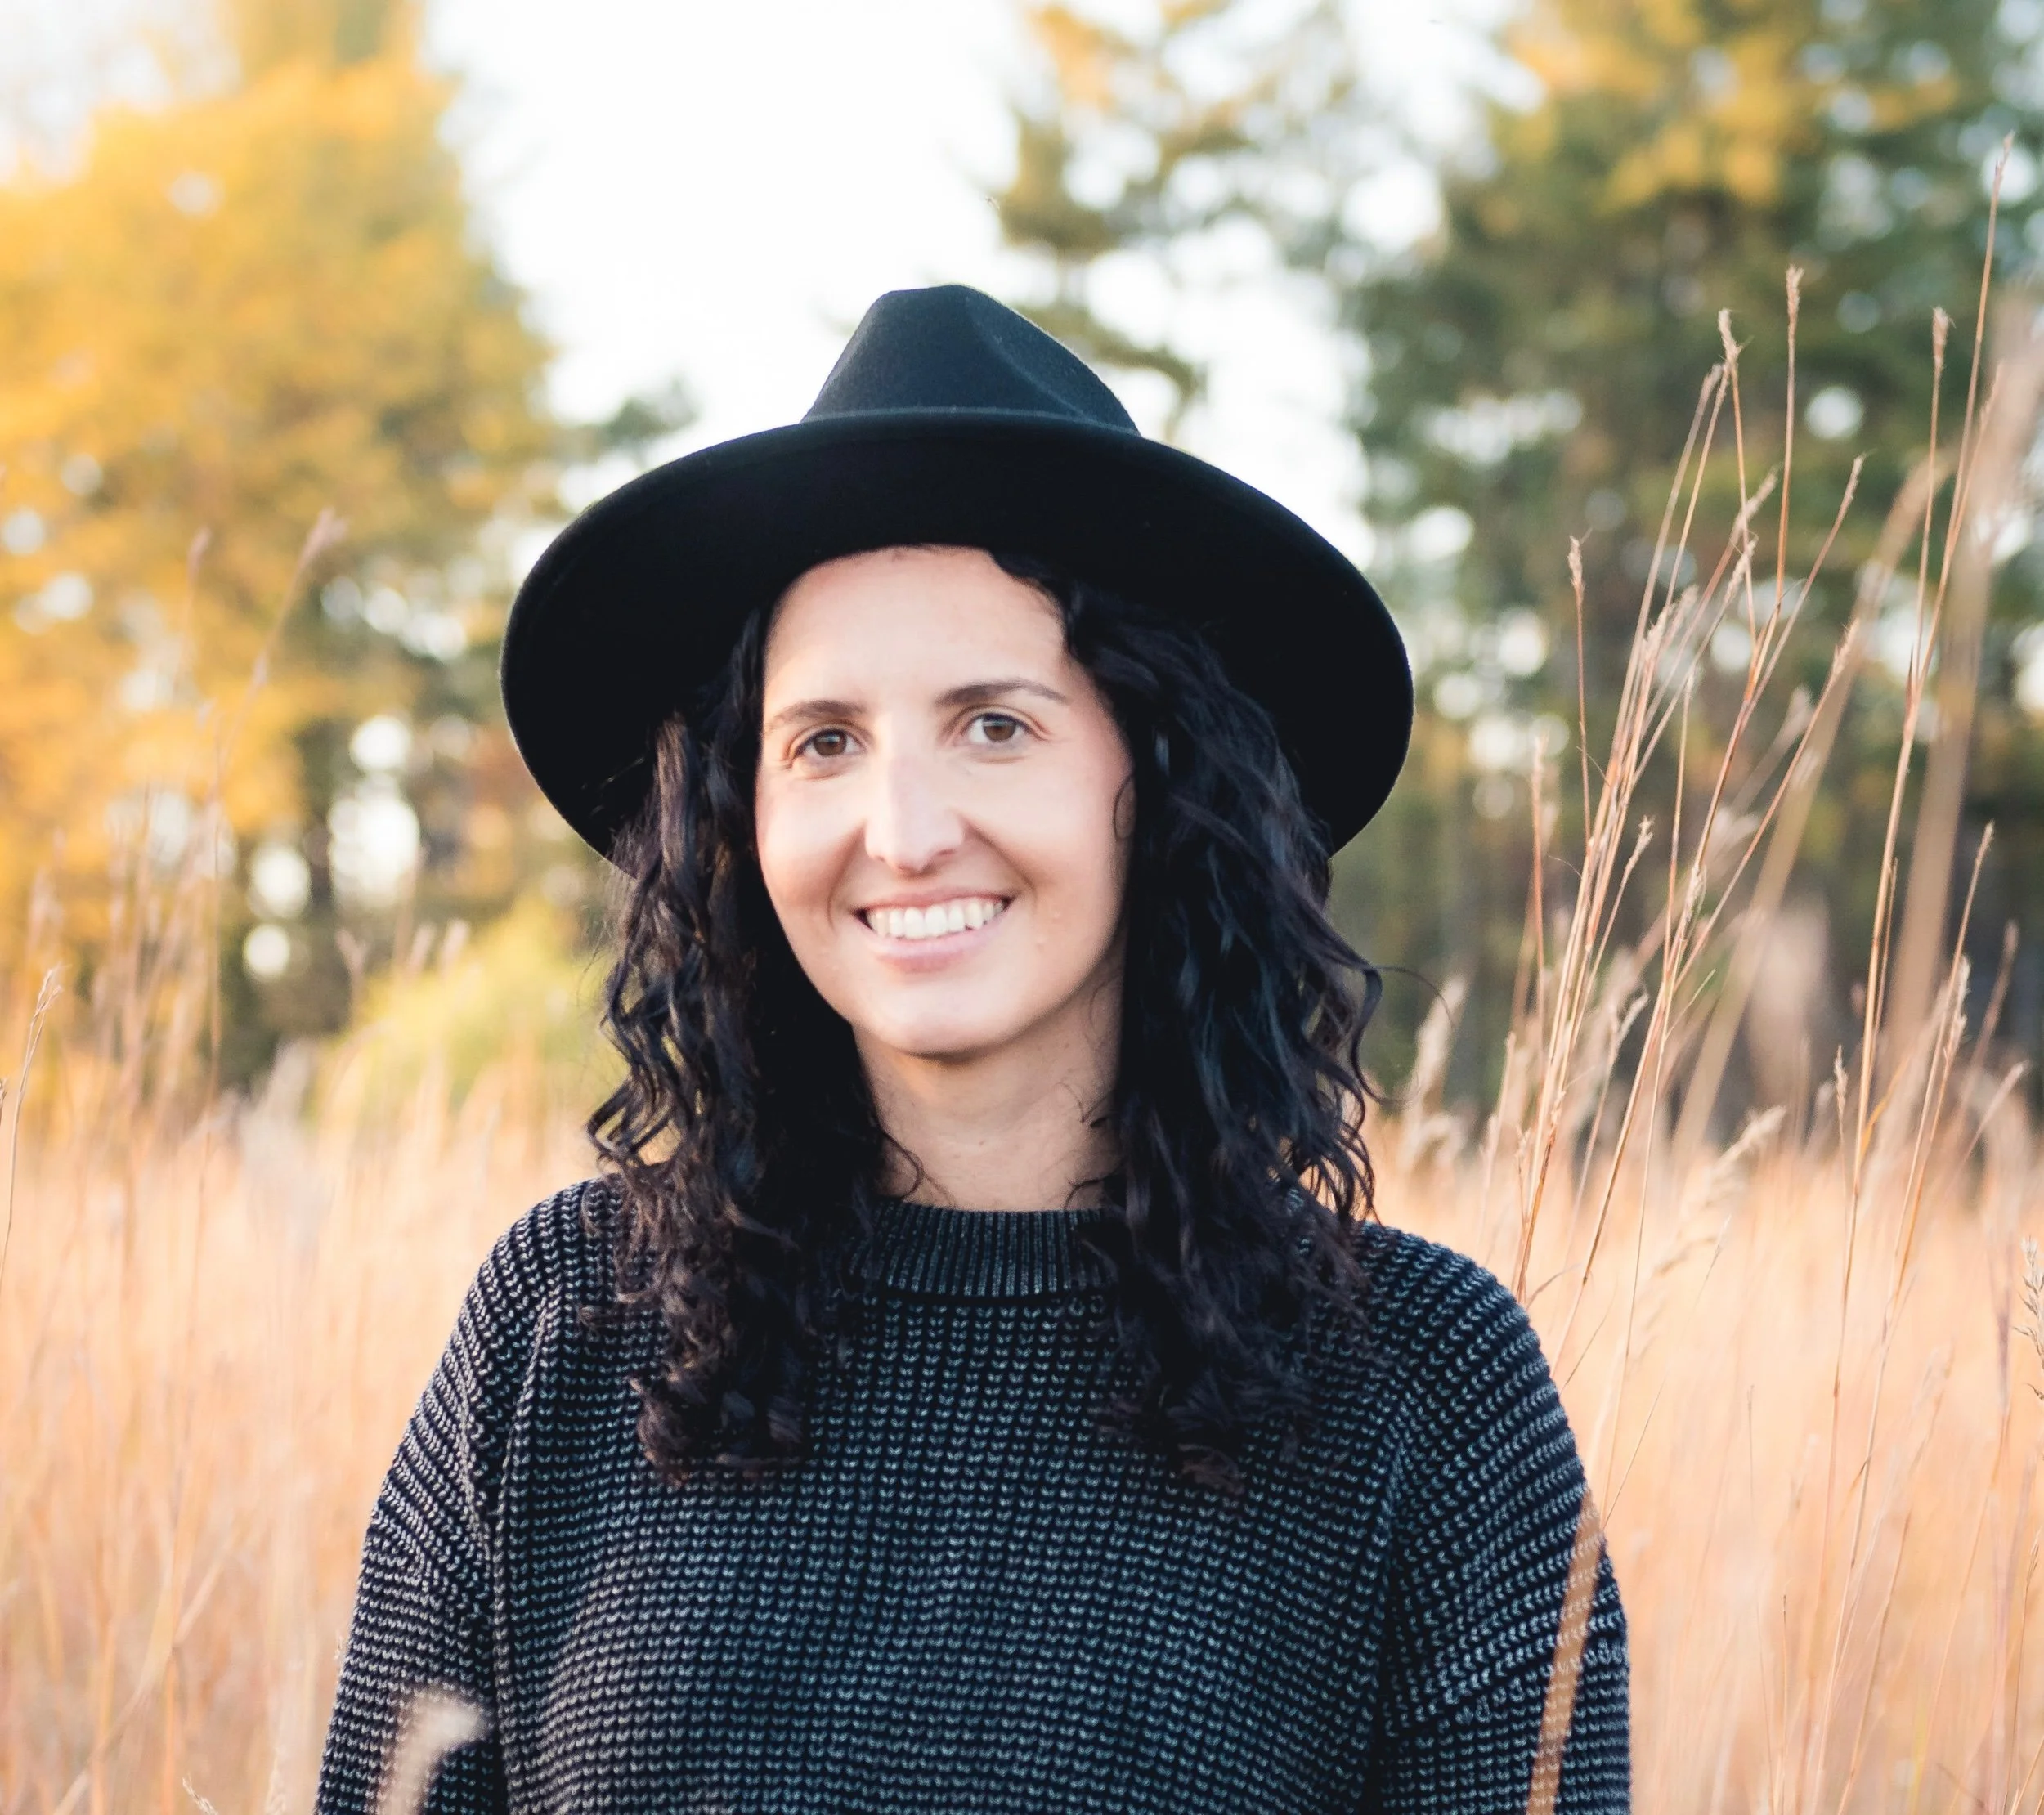
Cheers to three years of curls! I love my natural hair more and more every day. I love how long it is now! I’m not sure my hair has ever been this long. I’m still going for more, though! I wonder if I will ever think it’s too long!
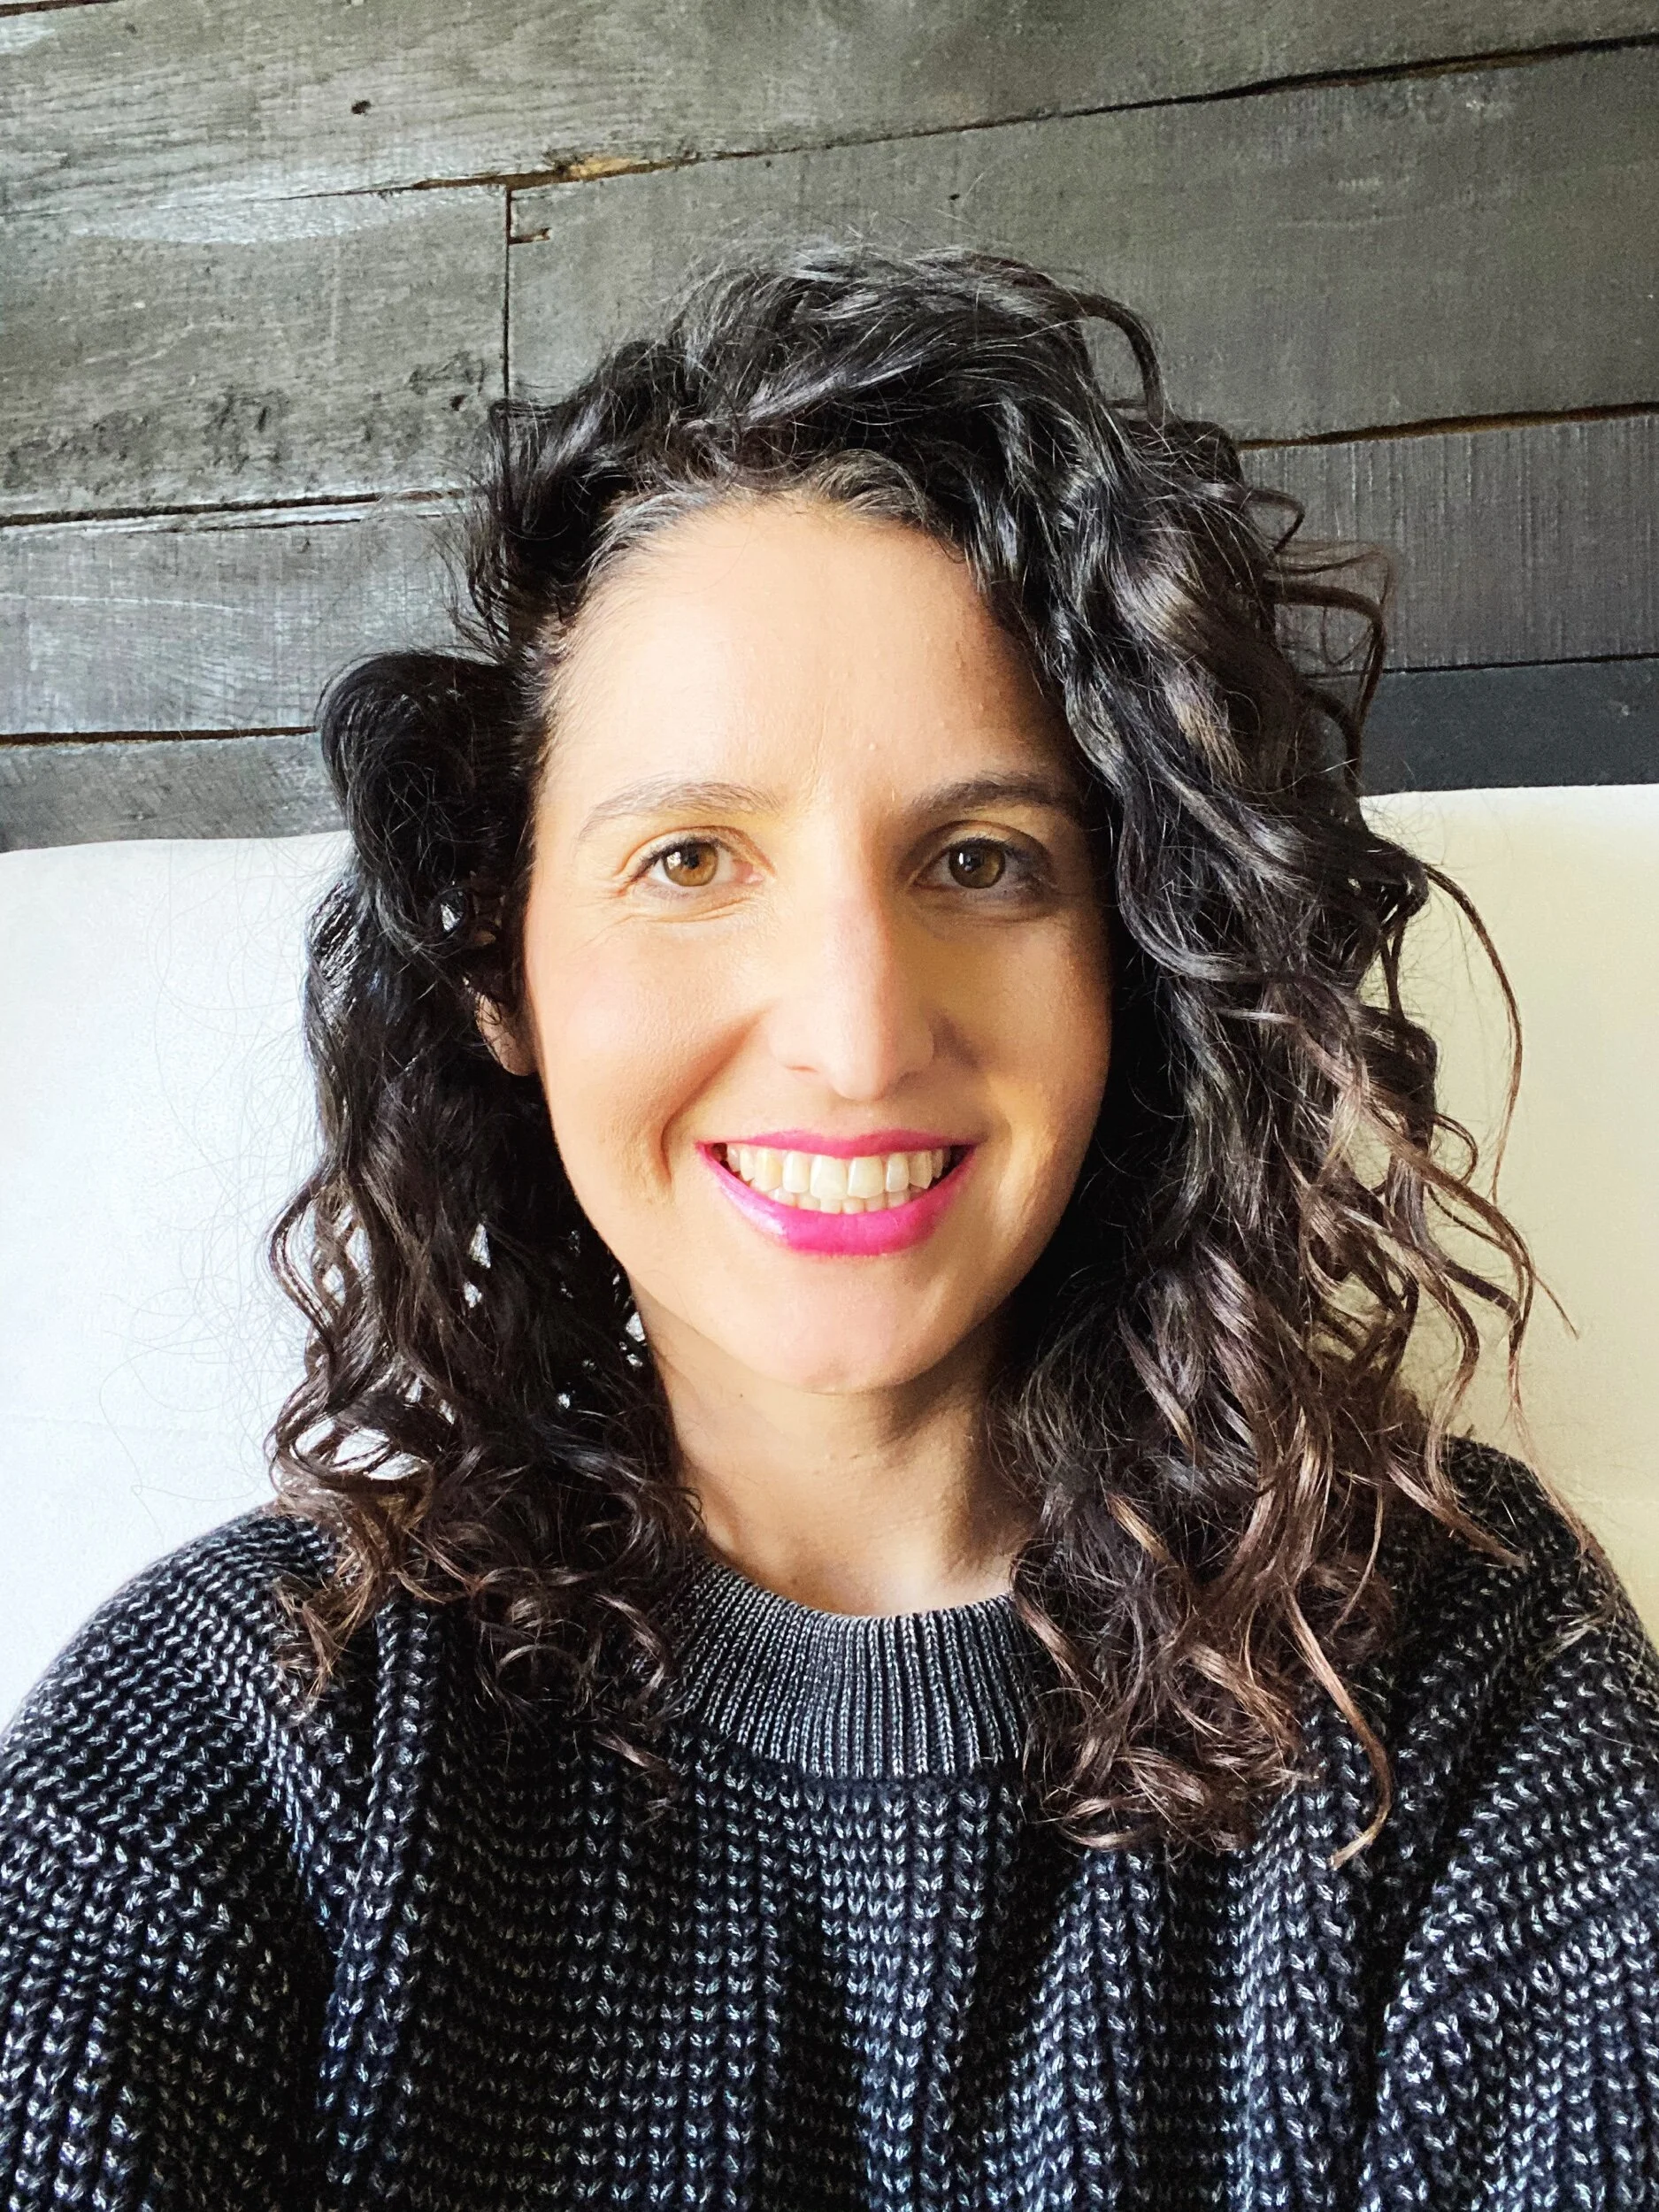
Last month I had my first haircut in over two years. I highly recommend Martha of Aurora Salon. She is a curly hair specialist and took such great care of me. She cuts each curl separately and also gave me tips on getting more volume. Get on her wait list — she is worth it!
If you are intimidated by the curly girl method, I get it. I honestly wouldn’t have stuck with it if it wasn’t absolutely necessary for me to achieve healthy strands. But now I look back at pictures of my straight hair and think it looks so dry and boring! I am so glad I didn’t quit when it was hard, because now it is so easy!
I do want to mention that I have learned the importance of shampoo and get my scalp/hair cleansed every six weeks at the salon when I get my hair dyed (I have a lot of gray hair that I’m not quite ready to embrace). I do a deep conditioning hair mask after my salon visits to work back in some moisture to my ends. I had to do this after our recent trip to Arizona as well. The desert sucked all the moisture out of my hair!
MY CURRENT WASH ROUTINE
My routine changed recently (see step 5 below), after my haircut and curly hair consultation. I wanted to share it because it’s made a huge difference! I still wash my hair once a week, on Wednesdays :)
Wet hair completely. My hair has low porosity, so it takes a while to get completely wet. I stand under the water for quite a while, letting it just soak in until it is fully saturated, squeezing my ends to encourage them to absorb more and more water.
“Wash” hair with conditioner. I take a palm full (or two or three) of conditioner and massage it into my scalp with my fingertips (preferably not my fingernails). I use a mixture of a rubbing and squeezing motions for a few minutes until I can feel that my hair is clean and refreshed. Rinse completely.
Condition. Then I flip my head upside down and get it under the water stream. This is when I detangle with a wide tooth comb. Then I take a palm full of conditioner and use praying hands to brush it all over from roots to ends. Then I take one or two more handfuls of conditioner and this time focus on the ends of my hair by scrunching and squishing the conditioner into it in an upwards motion. I turn my head from side to side to make sure I’m covering all angles. I leave the conditioner in for a few minutes and finish up with the rest of my shower.
Rinse conditioner. When I’m ready to rinse, I flip my head upside down again and let the stream of water cleanse my hair while using the same scrunching motion to rinse out most of the conditioner, attempting to leave a little in. With your hands you can get a feel for how much conditioner is left in your hair. Or, you can also rinse out your conditioner completely and then add back in a tiny bit of conditioner.
Time for gel! This is my new step, and it’s super important. While I’m still in the shower and my hair is dripping wet, I take a healthy squirt of gel, spread it over my hands and then rake it through my hair. Don’t be afraid to break up your curl clumps here. The raking motions will help get the gel distributed throughout all your hair strands. Once it’s coated well, then I scrunch in more gel using an upward motion from the ends up to the roots. Your hair will feel different now as the gel seals in all that water.
Plop with a T-shirt. While still in the shower, I flip my head upside down again and wrap my hair on the top of my head with a T-shirt (which creates less frizz than a regular towel). I then get out of the shower and leave it this way for 5-10 minutes. You can also use a microfiber towel, but for me I find it removes too water from my hair.
Re-wet hair. After I’ve gotten dressed, I finish up the process. Even though I used a T-shirt to dry my hair and not a towel, my hair is often too dry now to apply the rest of my product immediately. So I flip my head upside down and use a spray bottle to add water to my hair until it is dripping wet again.
Add mousse and more gel. With my head still upside down, now I take a palm-full of mousse and coat it all over from my roots down, then scrunch up toward my scalp. I do this over the bathtub because it will drip and cause a mess. Once I feel like I have scrunched it into every part of my hair, I take another dollop of gel for one final “sealant.” I make sure to get the roots that frame my face and the very top/middle section of my scalp. Then I flip my head back right-side up and go about my day!
Dry. I personally am someone who air dries every time. Whether you want to diffuse your hair upside down for 15 minutes or not is up to you! I just think it’s important to not touch your hair again until it’s completely dry. This is my least favorite part of the entire process because I don’t love the look or feeling of wet hair. My hair takes about three hours to dry completely.
Scrunch out the crunch (SOTC). Once my hair is completely dry, it is stiff and crunchy. I prefer soft curls, so this is when I scrunch out the crunch. Just like I scrunched the gel in, I take a soft, dry T-shirt in my hands and use it to scrunch my hair to break up the gel cast.
DAY-TO-DAY REFRESH
At night I put my hair in a ponytail and sleep on a satin pillowcase. In the morning, I take my hair out of the ponytail, spray it with water and give it a good shake. The water reactivates the gel from wash day. I am truly amazed that my hair stays moisturized and curly for several days!
QUESTIONS?
I will forever be an advocate of treating your hair right. I’m more than happy to answer any curly hair questions you have if you’re curious about getting started!
MORE CURLY POSTS